Building a production ready LLM application with BerriAI, PropelAuth, and Next.js


Berri.ai is a powerful product that allows you to easily add AI to your applications. You can, for example, create a chatbot that can answer questions about blog posts that you write just by passing in the contents of the blog post.
In this post, we’ll show how you can leverage their APIs alongside PropelAuth to quickly build powerful, production ready applications.
What are we building?
We are going to create a product where our customers can upload transcripts from their user interviews. Their product team conducts user interviews, transcribes them into a format that looks like this:
Interviewer: Can you tell me about your experience using our product
User: It’s been helpful for organizing my tasks and keeping track of deadlines. However, I did have some trouble with the mobile app. It was a bit slow and didn’t have all the same features as the desktop version.
Later on, we want to be able to package up all the many user interviews we’ve done and query them, with questions like:
Has anyone ever really complained about the mobile app?
We’ll use PropelAuth for user authentication, Berri.ai’s chat UI to allow our users to query us, and Next.js:
Generating our chat interface
It all starts with a data source. This could be a PDF, a CSV, a documentation page — anything that you want to be able to query.
In our case, we’ll let our customers upload text transcripts of their user interviews. In a real application, you might already have this data. But, for our example, we’ll just let the user upload them.
We’ll use Next.js API routes to handle the uploaded file and forward it to Berri’s API:
// pages/api/upload.js
export default async function handler(req, res) {
    if (req.method !== "POST") {
        return res.status(405).json({message: "Method not allowed"});
    }

    try {
        const fileContents = await parseFormData(req);
        const chatUrl = await createChatUrl(fileContents);

        // save to the database?

        return res.status(200).json({message: "User interviews uploaded successfully"});
    } catch (error) {
        console.error("Error:", error);
        return res.status(500).json({message: "An unexpected error occurred"});
    }
}
And here’s createChatUrl which calls Berri’s API:
async function createChatUrl(fileContents) {
    const forwardedFormData = new FormData();
    forwardedFormData.append("data_source", fileContents);
    forwardedFormData.append("user_email", process.env.EMAIL_ADDRESS);
    const response = await fetch("https://api.berri.ai/create_app", {
        method: "POST",
        body: forwardedFormData,
    })
    const result = await response.json()
    return result["website_endpoint"]
}
Protecting our user’s data
When we hit that endpoint with our files, we get back a URL to a chat bot that will answer questions about our data. The data itself might be considered sensitive, so we want to make sure that only the user that uploaded the files can access them.
For this, we’ll use PropelAuth, which allows us to add user authentication to our product quickly. It also supports multi-tenant authentication, so that we can onboard entire user research or product teams, allow them to invite other members of their organization, and control who has access to what data.
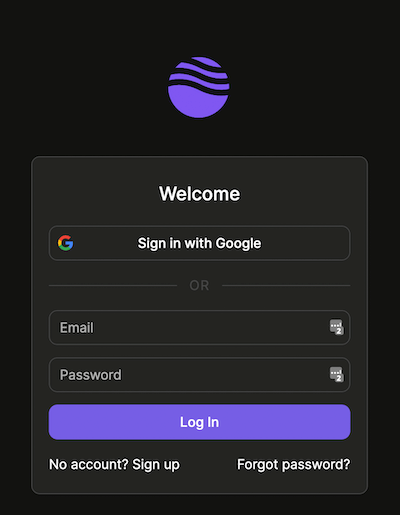
For now, we’ll just assume each user is independent. After signing up and configuring your project, we now have signup, login, and account pages:
In our backend, protecting our API route is as simple as installing the @propelauth/node library:
$ npm install --save @propelauth/node
Initializing the library:
// lib/propelauth.js
import { initBaseAuth } from "@propelauth/node";

export default initBaseAuth({
  // You can find the rest of the fields under the Backend Integration section for your project in PropelAuth.
  authUrl: "YOUR_AUTH_URL",
  apiKey: "YOUR_API_KEY",
});
And checking if our user is valid on the backend:
import propelAuth from "../../lib/propelauth";

async function getUserFromRequest(req) {
    try {
        const authHeader = req.headers.authorization
        return await propelAuth.validateAccessTokenAndGetUser(authHeader)
    } catch (e) {
        return null
    }
}

export default async function handler(req, res) {
    // ...

    const user = await getUserFromRequest(req);
    if (!user) {
        return res.status(401).json({message: "Please log in"})
    }
    // ...
Saving and fetching the chat URL
Now that we have a user, we can save the chat URL alongside their ID:
// ... handler code
const chatUrl = await createChatUrl(fileContents);
saveToDatabase(user.userId, chatUrl)
return res.status(200).json({message: "User interviews uploaded successfully"});
// ... handler code
We’ll leave it up to you to decide how you want to save it, but we’ve been heavy users of Drizzle lately.
Then you can create a new API route that fetches it:
// pages/api/chaturl.js
export default async function handler(req, res) {
    if (req.method !== "GET") {
        return res.status(405).json({message: "Method not allowed"});
    }

    const user = await getUserFromRequest(req);
    if (!user) {
        return res.status(401).json({message: "Please log in"})
    }

    const url = fetchFromDatabase(user.userId)
    return res.status(200).json({url});
}
Lastly, the frontend
To recap, we have two API endpoints:
/api/upload- Lets you upload user interview documents and persists a chat URL to the DB/api/chaturl- Fetches the chat URL from the DB
These API endpoints are both protected and require a user to be logged in in order to use them. We also have signup, login, and account UIs.
We haven’t actually written any frontend code yet though, so let’s do that now. As a simplifying assumption, let’s require the user to be logged in before they reach our application.
Start by installing the @propelauth/react library:
$ npm i @propelauth/react
Then, we add an AuthProvider to our _app.js which will manage our user’s information:
import {AuthProvider} from "@propelauth/react";

function MyApp({ Component, pageProps }) {
  return <AuthProvider authUrl="REPLACE_ME">
    <Component {...pageProps} />
  </AuthProvider>
}

export default MyApp
And finally, we add the main part of our application. We’ll add comments throughout to explain what’s going on:
import {useEffect, useState} from "react";
import {withRequiredAuthInfo} from "@propelauth/react";

// withRequiredAuthInfo makes sure the user is logged in
// If they aren't the user will be redirected to the signup page
// It also provides us with an accessToken that we'll use to make requests to our backend
const Home = withRequiredAuthInfo(({accessToken}) => {
    const [chatUrl, setChatUrl] = useState(null);

    // On initial load of the page, make a request to get our chat URL
    // Make sure to pass in the access token so the backend knows who the current user is
    useEffect(() => {
        fetch("/api/chaturl", {
            headers: {
                authorization: `Bearer ${accessToken}`,
            }
        })
            .then((response) => response.json())
            .then((data) => {
                setChatUrl(data.url);
            })
    }, [])

    // If the chat URL exists, make sure to render it in an iframe
    return (
        <div>
            <h1>User Interview Query</h1>
            {chatUrl && <iframe src={`https://${chatUrl}`}
                                frameborder="0"
                                width="850"
                                height="625"/>}
            <br/>
            <h3>Upload your user interviews here</h3>
            <FileUploader/>
        </div>
    );
})
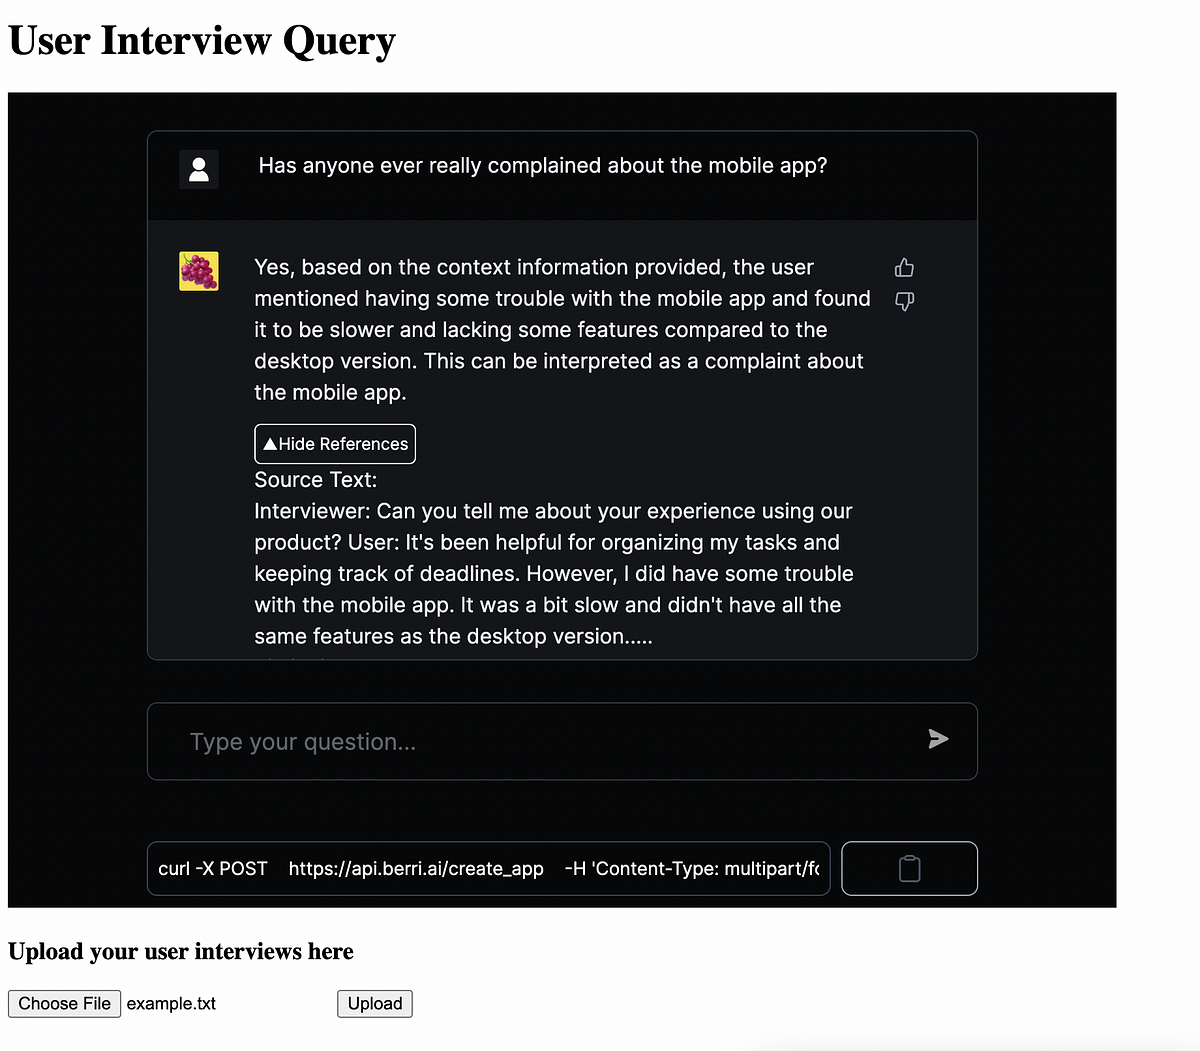
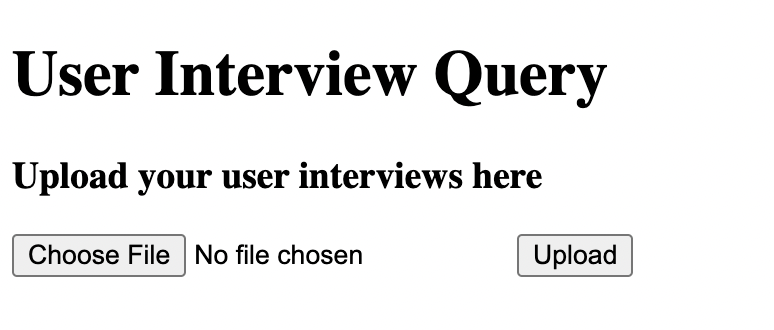
I genuinely used ChatGPT to generate the FileUploader, so I’ll paste that code at the bottom, but when you run the application now you can see:
and once you upload some user interview transcripts, you can then start querying them:

Summary
What I find really great about this example is how little code I actually had to write. Berri.ai took the documents that our user uploaded and generated a full chat UI. PropelAuth gave us a concept of a user and provided the UIs for signup, login, and account management.
When we are ready, we can add multi-tenancy/organizations to our application, and then we can immediately start selling not just to solo product people, but to full teams and companies.
Notes
For completeness, here’s parseFormData:
import FormData from "form-data";
import formidable from "formidable";
import fs from "fs";

// ... the handler itself

// In order to load the files ourselves, we need to turn off Next.js body parsing
export const config = {
    api: {
        bodyParser: false,
    },
};

const parseFormData = async (req) => {
    const form = formidable({multiples: true});
    const files = await new Promise((resolve, reject) => {
        form.parse(req, (err, fields, files) => {
            if (err) {
                reject(err)
            } else {
                resolve(files);
            }
        });
    })
    const fileContents = []
    Object.values(files).forEach((file) => {
        fileContents.push(fs.readFileSync(file.filepath).toString())
    })
    return JSON.stringify(fileContents)
}
And here’s the FileUploader:
const FileUploader = withRequiredAuthInfo(({accessToken}) => {
    const [files, setFiles] = useState([]);

    const handleFileChange = (e) => {
        setFiles([...e.target.files]);
    };

    const handleSubmit = async (e) => {
        e.preventDefault();

        const formData = new FormData();
        files.forEach((file, index) => {
            formData.append(`files[${index}]`, file);
        });

        try {
            const response = await fetch("/api/upload", {
                method: "POST",
                body: formData,
                headers: {
                    authorization: `Bearer ${accessToken}`,
                }
            });

            if (response.ok) {
                alert("Files uploaded successfully.");
            } else {
                alert("Files upload failed.");
            }
        } catch (error) {
            console.error("Error:", error);
            alert("An error occurred during files upload.");
        }
    };

    return (
        <form onSubmit={handleSubmit}>
            <input type="file" accept=".txt" onChange={handleFileChange} required/>
            <button type="submit">Upload</button>
        </form>
    );
})